Embroidering on a different place

Most people come to me with shirts or jackets or the occasional blanket to embroider. Yesterday I got this rush job from a repeat client I did 40 shirts for sometime ago. These are some industrial work aprons for some of his worker. They need to go out first thing tomorrow so I’m here at my shop getting these done. It took a bit of creative finagling to get this particular apron into my embroidery machine. I really didn’t want to have to make a patch for them. I settled on using the ever amazing Fast Frames System! This awesome hooping system has saved my life multiple times! I was lucky enough to get them with my machine. They are great for tricky, hard to hoop items. Basically it tricks your embroidery machine into think that the largest hoop is in the machine. Then it has smaller centered attachments of varying size to hoop the items.

However, even with the fast frames system I still ended up having to open one side of the pocket I was trying to embroider on. I couldn’t find the middle size hoop attachment so I had to use the larger one, which was just a little too bit for the pocket to move freely while embroidering.

Here is pictures of the process of making these for Autobahn Tint AZ

20160710_162646
The digitized file for Autobahn
20160710_173319
I ended up having to open one side of the pocket stitching
20160710_174037
All clipped to the Fast Frames hoop
20160710_173341
Completed Autobahn Embroidery
20160710_181833
All three Autobahn embroidered aprons


Mermaid Costume Continued: Shell bra

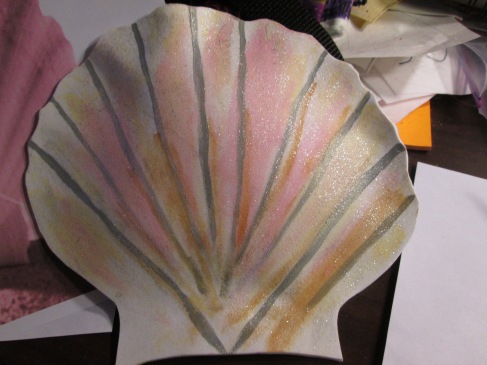
I’m not an artist I’m a seamstress so it’s no wonder that painting is not my forte. I’m not happy with the way the shells for my costume came out but I think I’m going to deal with it because I don’t have time to find real shells or to order a pre-made shell bra. Here are some progress pictures of the shell top. I used a heat gun to mold the craft foam into the shell shape.

Cutting out the shape

Image

Before and after shaping with the heat gun

Image

Color reference and finished shell.

Image

Image

Finished bra with shells attached to top. I think I’m going to cover the bra with some of the same material from the tail so it’s doesn’t look like I covered a bikini top even though that’s what I did.

Image

Halloween hair clips

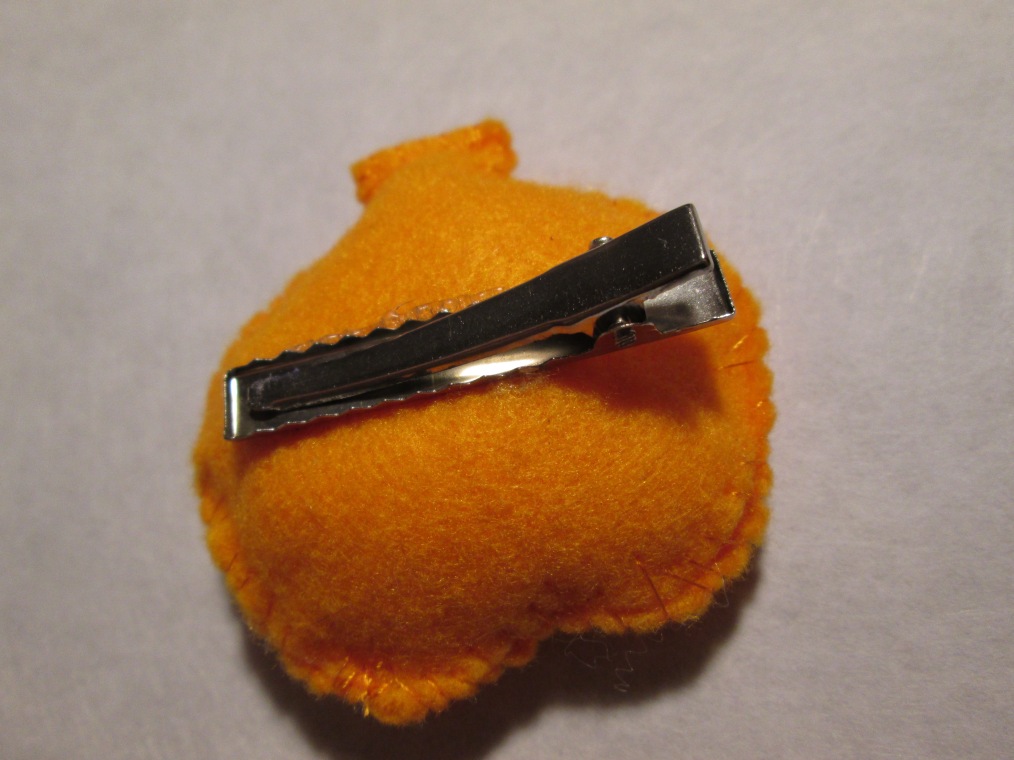
So as you know I was using my new embroidery machine to stitch out some cute little hair clips. It started with a pumpkin and went from there. Here are the finished products.


Available for purchase here:

https://www.etsy.com/listing/112422785/halloween-hair-clips

Finished pumpkin hair clippies

I know it’s not Saturday yet but I wanted to show my finished hair clips anyway. I’m really happy with the way they came out. I don’t really like hand sewing but I couldn’t think of a better way to close these up. I could have stitched them right sides together and then hand stitched them closed after stuffing but I think that would have looked a little weird. I was just going to stitch wrong sides together with my machine but then I would still have to hand stitch the bottom closed and that might look weird if I had two different kinds of stitches in it. That’s why I opted for a slip stitch around the whole edge instead. I think it adds a handmade look to it that I like.

Image

Image

New pumpkin hair clippies!

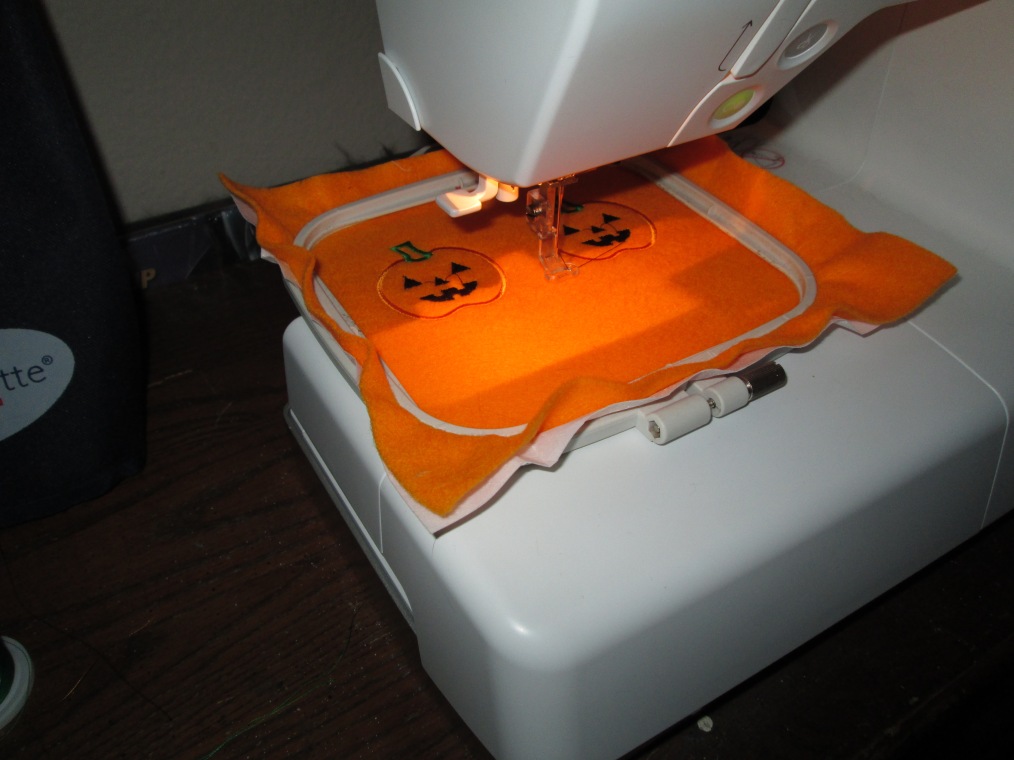
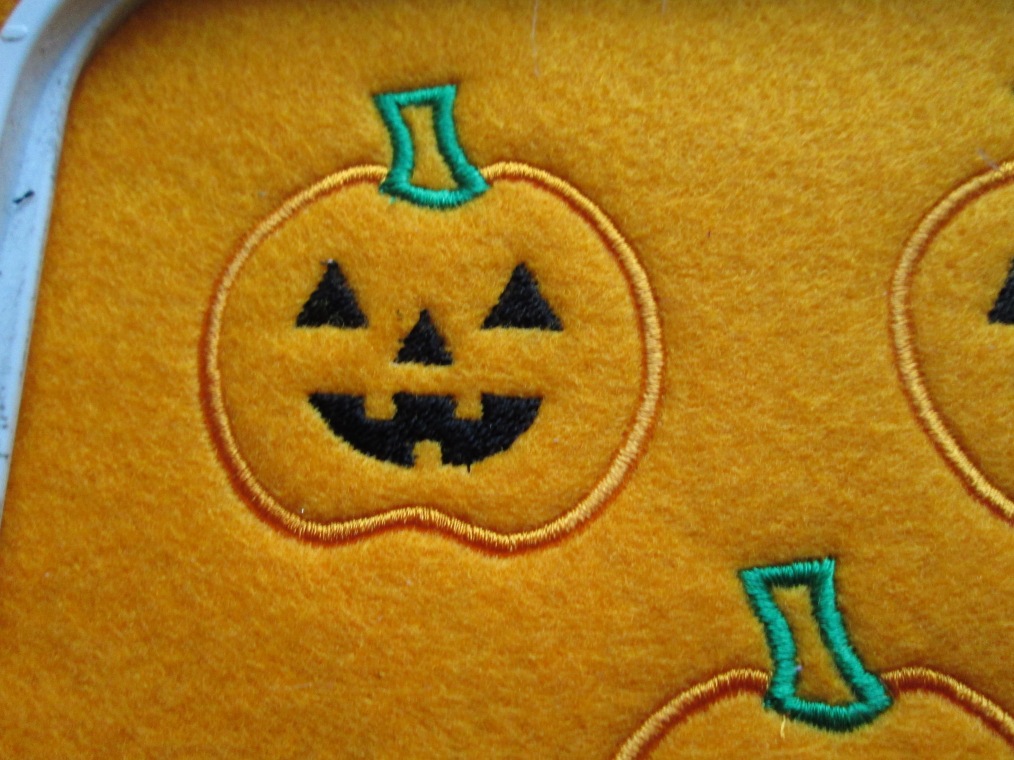
Sorry I missed a week. I’ve been working on a few new projects trying to get ready for Halloween. Trying to learn more about my embroidery machine. So here is the first look at the beginnings of my Pumpkin hair clips. I took some felt and am going to cut around them and sewing them to a backing piece so I can add a little stuffing then glue/sew them onto a clip. They’re going to be so freaking cute when they are done! 


ImageImage

ImageImage

(Sewing) Feets don’t fail me now!

This blog post makes me want an ipad even more. Oh the things you can learn with the internet. I’m interested in learning more about the different feet I have for my machine now. I know I’m not taking advantage of them the way I could.

CherryPix : SewingPix

A number of ‘feet’ came with my sewing machine (Janome 6260QC) but I really didn’t know what they were for or how to use them… so I went looking for information. Some of what I found is specific to Janome but hopefully users of other brands will pick up something useful.

Janome’s US website has a great range of video tutorials on how to use various feet – they are short and easy to view (you’ll need to disable your pop-up blocker – the videos pop up in a new window).

I also invested in a Kindle version of ‘The Sewing Machine Attachment Handbook’ by Charlene Phillips

which is great for pictorial explanation. I particularly like viewing this type of book via my iPad because I can zoom in on the pictures and really ‘see’ what the foot looks like. The book is very comprehensive, covering the history of attachments (which is…

View original post 443 more words

New ideas (tiniest tiny hat)

So I’ve just moved in with my boyfriend of two months and he’s got a charity that he gets donations for then sells at yard sales. While yard sale-ing with him yesterday I found the cutest tiny hat! I about screamed with joy when I found it in a huge box of crap. After wearing it all day, much to my boyfriends delight, I had a thought “I could totally make these!” So that’s what I think I’ll do. Not sure when it’ll happen but this is one of my back burner projects now.

Image

Updates

I haven’t been keeping up with my WCD Blogs the last few months because my life fell out and I’m trying to get it back in order. I’ve been mostly making Pokeball backpacks they seem to be selling very well and I’m really excited about it. I’ve also been very busy with Roller Derby, I pasted my skills test and got drafted to a team. I am now a Hail Mary of the Arizona Roller Girls my first game is in September. I’m super excited.
Other than just filling orders though my Etsy store I’ve been working on some toe gaurds for my skates. They sell them online and at skate shops but I didn’t like the ones they had for sale. Plus I wanted to see if there is another material other than leather that would work. So far I’ve had no luck with them. The vinyl works okay but I think I need to change the design a little bit. Here is a look at the ones I made and the aftermath 😀

The grey fur were made because I thought that they would just slide on the floor instead of scuffing. No luck, after the first knee drop there was a huge hole in the front from where the fabric melted from the heat of the friction.

The red and black ones looked great but didn’t hold out at all. I knew the red vinyl wasn’t strong enough but I didn’t think they would be riped off my skates. I know why these ripped apart, it was a design flaw. I didn’t have them on tight enough and the eyelets got ripped out of the vinyl. I have a new game plan for the toe gaurds and I’ll probably make another pair soon but for now I’m a little burnt on this project.